

How to attach trellis to a wall or fence

Project overview
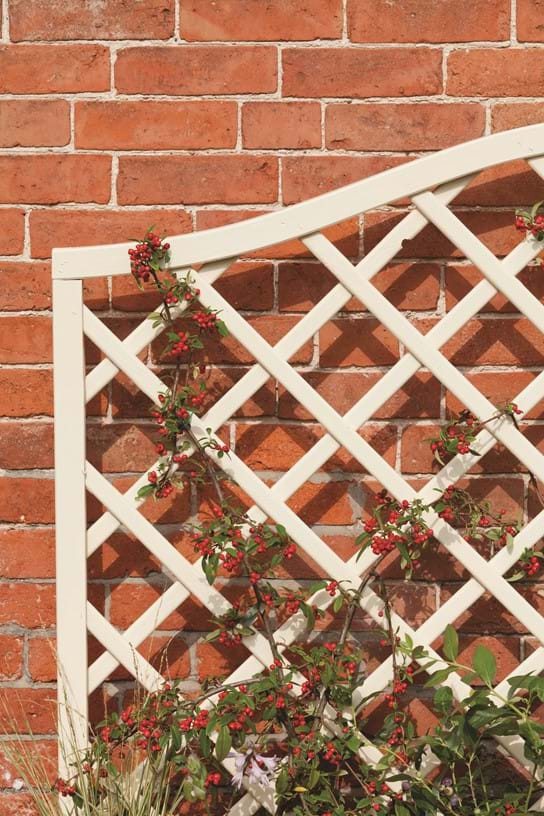
A trellis can introduce greenery to your garden while making use of wasted space at the same time. They’re unobtrusive and can cover up an ugly fence! Climbing plants don’t need a lot of attention, you simply need to prune every now and then so they’re the perfect answer for small spaces that need an injection of greenery. Here’s how you can easily build your own trellis.
1. Treat the wood
First things first, before you start screwing any wood to walls or fences, you need to treat the wood. If you don’t, your trellis will rot and all your hard work will go to waste. So grab a pot of our fence treatment or wood preserver and coat your trellis. This will protect the wood from all weather and can last for years.
2. Give it space
If you’re wanting to attach a trellis to a wall, you need to provide space for the plants to climb. So you’ll need to fix the trellis to a batten first to ensure there’s enough room for you to wind your finger around the trellis and a little extra room to boot.
A batten is just a strip of wood or metal that you can affix something to. Depending on the size of your trellis depends on the size of the batten, but it should generally be between 30mm and 60mm.
Fix the battens to the fence or wall at the points where the top and bottom of your trellis will sit. If your trellis is particularly big, you might want to add one in the middle too.
Some trellis come with a back panel which provides a gap between the slats and the fence, so you won’t need to attach battens.
3. Attach the trellis
Once the battens are firmly in place, you can then screw your trellis to the wall or fence. Make sure that the bottom isn’t touching the ground as, even if it’s treated, if it’s in constant contact with a moist surface, it could still rot.
4. Pick your plants
Plants suitable for climbing include ivy, clematis, and honeysuckle and will thrive if you leave them alone.
We recommend...
Protect you wood from rot, decay, wood burrowing insects and wood discolouring fungi like blue stain. Our Shed and Fence Preserver protects against woodworm, adds colour and waterproofs your wood so it stays protected and looks good too.
More Details
