Project overview
How to clean decking
Before you do any DIY on your decking, you need to clean it first.
You can either do this using a chemical formula that quickly gets to work and doesn’t require too much work from you. But these cleaning solutions can be damaging to your plants so be sure to cover them up with some sort of plastic protection.
Alternatively, if you don’t want to use chemicals, a pressure washer, stiff wire brush and some elbow grease may be enough for accumulated dirt. However, we don’t recommend this method if you have mould as it can make the problem worse. You absolutely must treat and clean mould first.
Using a cleaning solution
1. Sweep the deck
Remove all the furniture and use a stiff wire brush to sweep away loose debris, leaves and dirt.
2. Protect the surrounding area
Cover your plants and grass to protect them from the cleaning solution.
3. Apply the decking cleaner
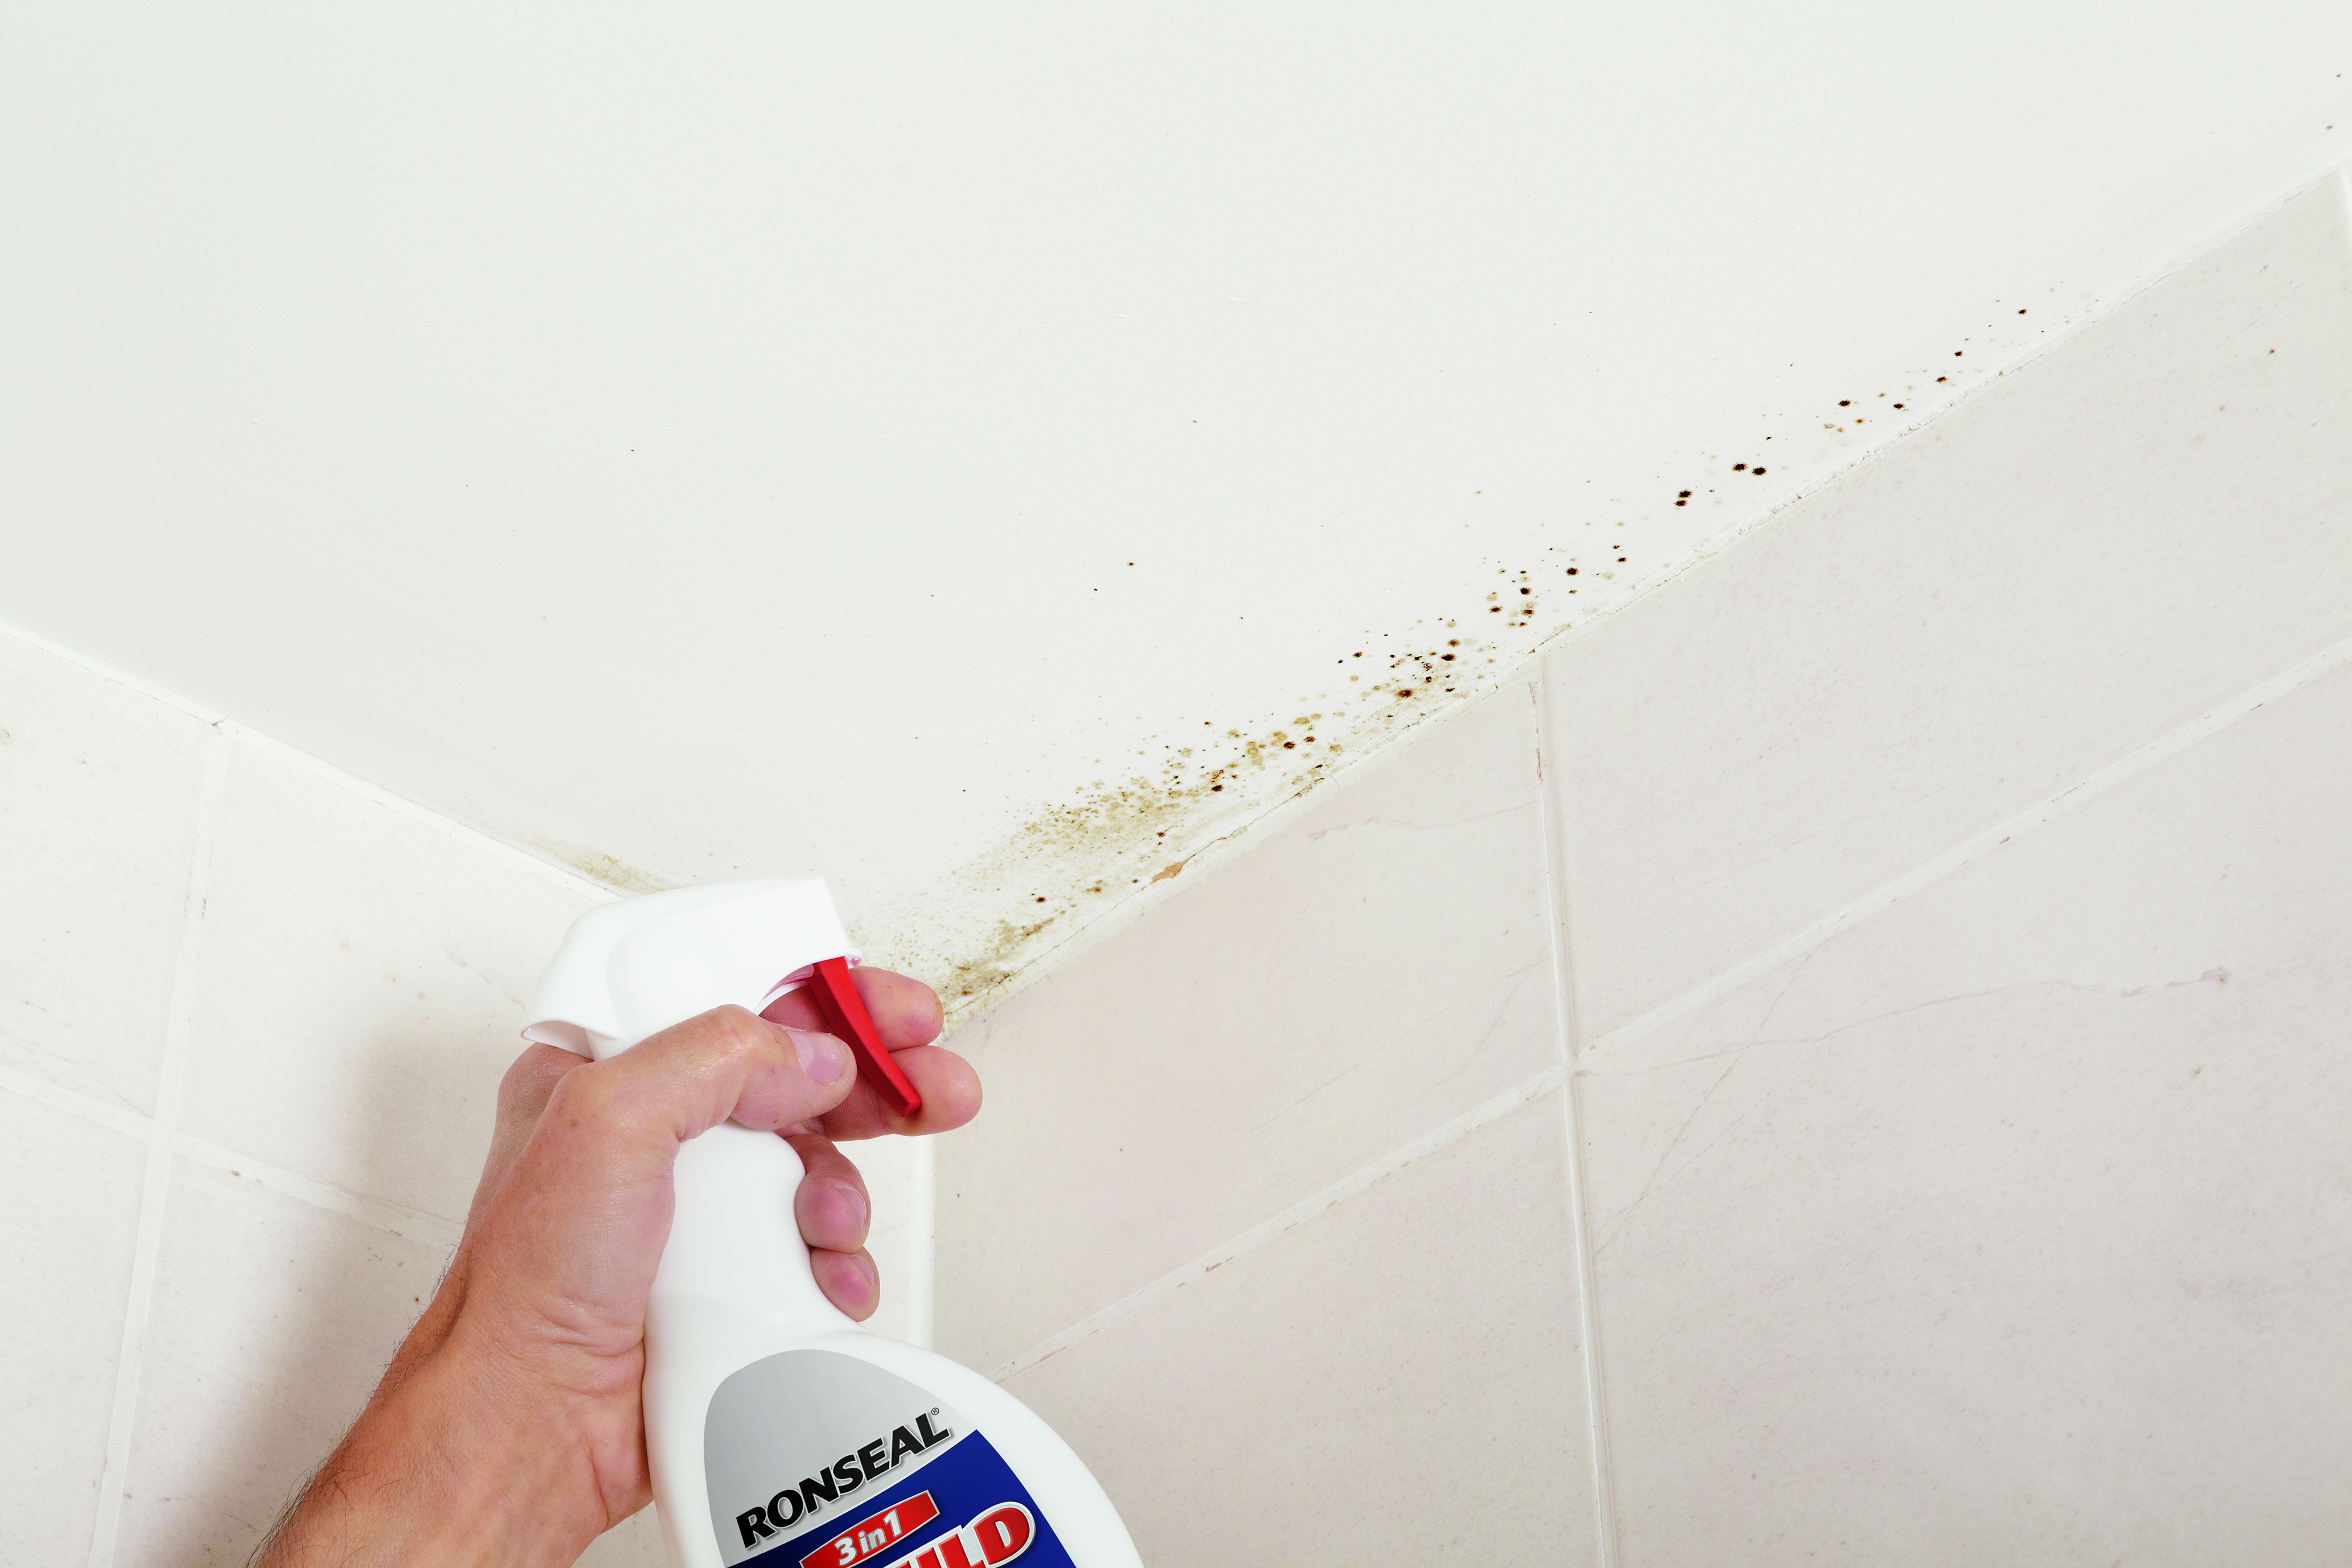
If you’ve got mould growing on your deck, some multi-purpose decking cleaners remove mould at the same time as cleaning your deck. It’s a quick way to take care of several problems and have your deck looking as good as new in no time.
If you’re not using one of our decking cleaners, always check the manufacturer’s instructions.
For our decking cleaner, apply it directly to the surface of your deck and scrub it in. Wait 15-20 minutes for it to get to work and then for the best results, use a pressure washer to wash off the cleaning solution. But if you don’t have a pressure washer, keep scrubbing and use a hose to wash it off.
Remove all the cleaning residue and your deck will be good as new.
Using a pressure washer
If you choose to clean your deck with only a pressure washer, you still need to sweep the deck and protect the surrounding area just to make sure nothing gets damaged.
Test the pressure washer on a hidden area first to make sure it doesn’t damage the decking.
Use as wide a nozzle as possible to evenly distribute the water pressure.
Hold the pressure washer about half a meter (two feet) above the deck to begin with. Hold the nozzle at an angle and move closer to the deck but no closer than 15-30cm as this can damage the surface.
Move the nozzle in sweeping motions starting at one end of your deck and going with the grain of the wood. Make sure the nozzle is constantly moving in a back and forth motion to ease the impact of the pressure.
You might need to keep scrubbing with a wire brush to get rid of the particularly stubborn sections.
Remember: If you have mould on your deck you have to treat and remove this first. Using a pressure washer runs the risk of spreading the spores and making it worse. Always treat mould first!
What is best: decking oil or stain?
When it comes to treating and protecting decking, you have two different options; decking oil and decking stain.
Decking oil
Oils often come in natural colours or clear and enhance the natural appearance of your wood. Decking oils soak deeply into the wood and penetrate the grain to provide protection from the inside out. This prevents the wood from cracking, splitting or warping and should keep your wood nourished and healthier for longer.
Oil is also really durable and is easy to maintain, you just need to keep it clean and touch it up every now and then. It’s very resistant to dirt and water so doesn’t require much upkeep at all.
You may find you need less decking oil than stain to get the job done too. Our oils cover around six to 10 meters squared so you might only need one tin to protect and nourish your deck.
It protects against the rain and sunshine too, so your wood is less likely to weather and grey and will instead look better for longer.
Decking oil also tends to be less slippery because it penetrates the wood instead of sitting on top of it.
However oil can’t be stained or painted over, so if you want to change the finish you will have to strip the oil off first.
Oil also can’t be used on certain hardwood decking like teak or balau wood. This is because they’re already naturally oily and have a very dense grain that can be hard to penetrate.
Decking stains
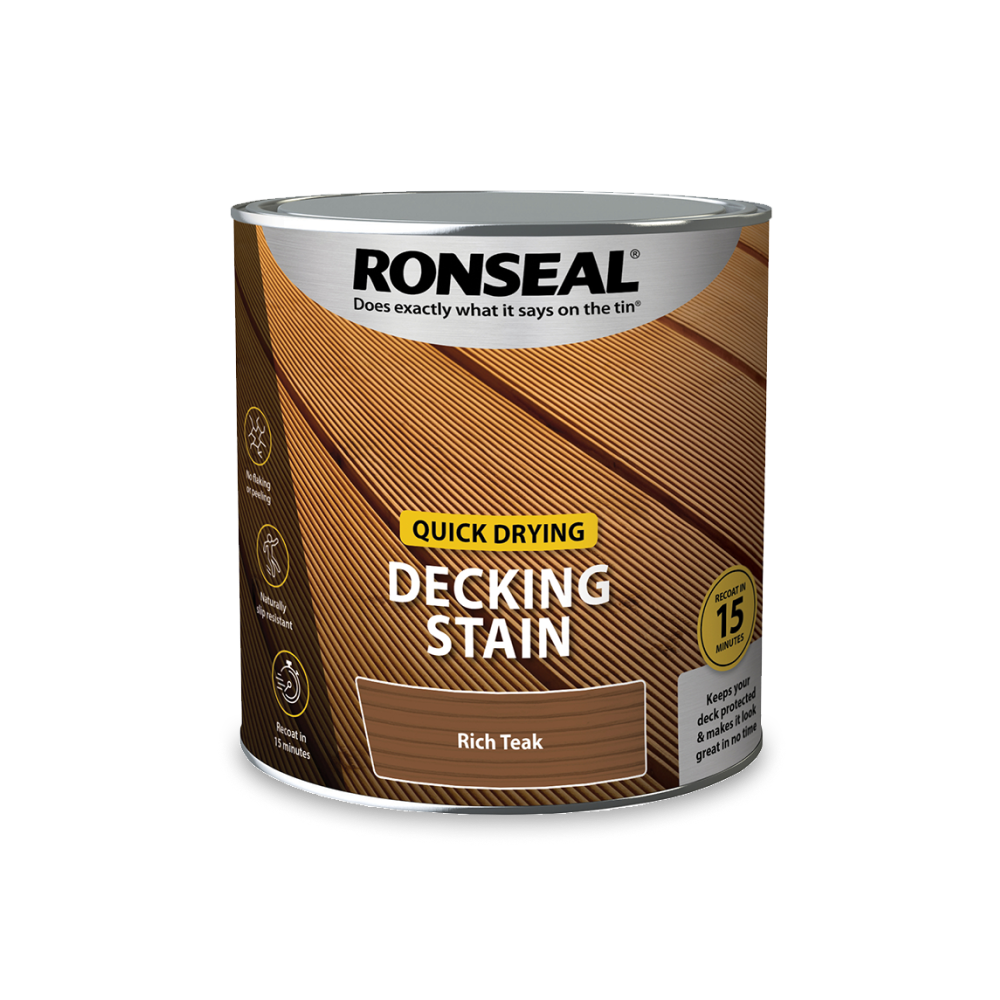
Decking stains are similar to varnish and are available in a variety of colours.
Unlike oils, decking stains essentially seal the timber from weather instead of penetrating deeply into the wood. It provides the same level of protection against the weather and helps to prevent rot and greying.
Stains are also really durable against footfall. They create a tough layer over the top of the wood so they can cope with a lot of footfall. However, this layer can become slippery when wet.
Decking stains are more susceptible to peeling and flaking if not properly maintained.
Because of the pigmentation of stains, they can cover up the grain of your decking so if you want a natural look, you’re best suited to an oil.
How to stain decking
Before you start staining your decking, clean it first. See the ‘How to clean decking’ section for more information.
Once you’ve cleaned your decking and left it to dry out, you need to strip off the previous coat first.
If you need to know how to strip decking, we’ve made a video and guide for you so you can follow the steps and strip your decking easily and cleanly.
After removing the old stain or oil, you are now ready to apply a fresh coat of stain.
If you’re not using one of our stains, you should always check the manufacturer’s instructions before following our advice.
1. Choose how you apply the stain
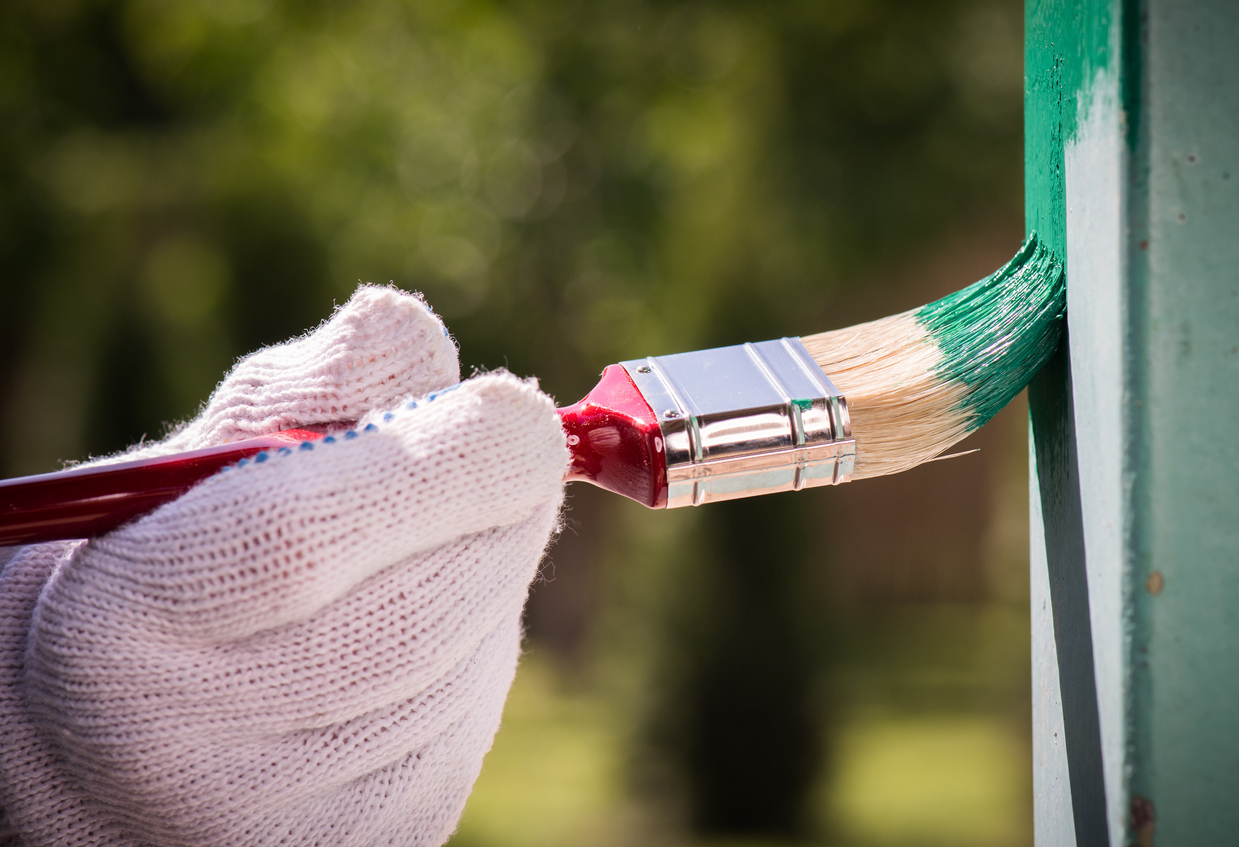
The majority of decking stains need to be applied with a paintbrush. That means you have to get on your hands and knees to ensure stain gets into all the grooves of your decking. It’s intricate and can be time-consuming but is fine if you have a small deck.
If you have a large deck or struggle with back pain, some stains are available with an application pad so you don’t have to bend over and can help you finish the job five times quicker.
For the sake of this guide, we’ll assume you’re using a paintbrush to apply the stain.
2. Apply the stain
Thoroughly stir the stain to make sure the colour is thoroughly mixed.
Load up a wide paintbrush with a liberal amount of stain and apply it to the deck.
Paint three to four boards at a time to help prevent overlap marks and paint along the grain. This will help ensure that the stain gets into the grooves of your decking.
Start at one end of your deck and make sure you don’t paint yourself into a corner otherwise you might find you’re stranded for a few hours.
3. Apply a second coat
Wait roughly four hours for the first coat to dry.
Apply the second coat in the same way as the first.
When your second coat is dry and you’ve finished staining your decking, make sure you keep on top of the cleanliness to ensure your deck lasts longer.
How to oil decking
As with staining, you need to clean your decking before you oil it.
Again, you need to strip the old oil from the decking before applying the fresh layer.
You can also apply oil with either an applicator pad or a paintbrush.
We’ll assume you’ve chosen to use a paintbrush to apply your oil.
1. Figure out how much oil you need
One tin of oil might not be enough to coat your decking and you don’t want to get caught short. Use a coverage calculator to find out exactly how much you need.
If you require more than one tin of oil to protect your decking, mix the two together. You don’t need to dilute the mixture, just pour the two tins into a bucket and stir.
2. Apply the oil
Use a paintbrush to apply a generous amount of oil straight to the decking. Paint in the direction of the grain and focus on up to four boards at a time. This will help prevent overlap marks.
3. Apply the second coat
Wait four hours for the first coat to dry and apply the second coat following the same steps.
Your deck will now be nourished and have its natural look back again. Make sure you take care to clear dirt and debris away at a regular basis so it stays looking its best for as long as possible.
How to treat new decking
Most new decking already comes pre-treated, just look for a green or brown tinge or the surface of your deck will be slightly darker than the cut end.
Brand new decking needs to left alone to weather naturally so that all the pre-treatment has eroded, ready to be oiled. We recommend you wait around six months for it to be fully eroded.
Once you’ve waited for the coating to erode, treat your new decking as normal with oil or stain.
Another important way to protect your decking is to use an end grain protector to protect the exposed ends. This ensures no moisture seeps in and that the wood doesn’t contort or split.
How to restore a weathered deck
Decking that’s been weathered by the sun looks grey, split and could warp. If it’s damaged by water, it could rot and become unstable.
Unfortunately, when it comes to a rotten, there’s not really a lot you can do other than replace the affected beams. It’s important you do this as soon as you spot the rot, or at least section off your deck, as it can cause structural issues.
Decking that’s been weathered by the sun and looks a bit grey can be salvaged with a bit of care.
1. Make any repairs
If you really want your deck to look as good as new, you should carry out maintenance repairs first. Identify any areas that need fixing or sanding, remove all splinters and replace any loose or broken boards.
2. Clean the deck
Once you’ve made repairs and your deck is structurally sound again, you need to clean it.
See our ‘How to clean decking’ section for more advice.
3. Pick your paint
There are two different ways you can revive old grey wood. You can either use a clear restorer which brings back out the natural grain and appearance of the wood, or you can use a decking reviver paint which covers and colours the wood. Both revive your wood however clear restorers still need a layer of stain or oil to protect from weather.
4. If you choose clear decking restorer
Before you start, you should always follow the manufacturer’s instructions for details on how to properly use the restorer.
Give the tin a good stir so it has a nice smooth consistency.
Use a paintbrush to apply the decking restorer to your deck. Don’t be afraid of using too much, apply a thick layer and cover three or four boards at a time.
Grab a stiff bristle brush and work the decking restorer into the surface of your decking. Wait 15 minutes and then scrub again before rinsing off with clean water.
Let the wood completely dry before protecting it with oil or a stain.
5. If you choose decking reviver paint
Check manufacturer’s instructions before you begin as their instructions may differ from ours.
Stir the paint and test it on a small and hidden patch of decking to make sure you’re happy with the colour.
When you’re happy with the colour, load up a paintbrush and start in one corner of the decking, gradually painting along the lengths of the boards. Paint three or four boards at a time so you don’t have overlap marks. The paint will fill small cracks in the wood so you’ll have a smooth finish.
Wait four hours for your first coat to dry. Apply a second coat.
It’ll take around 48 hours for your decking to dry. Once it’s dry it will be protected from the weather and should look as good as new.
