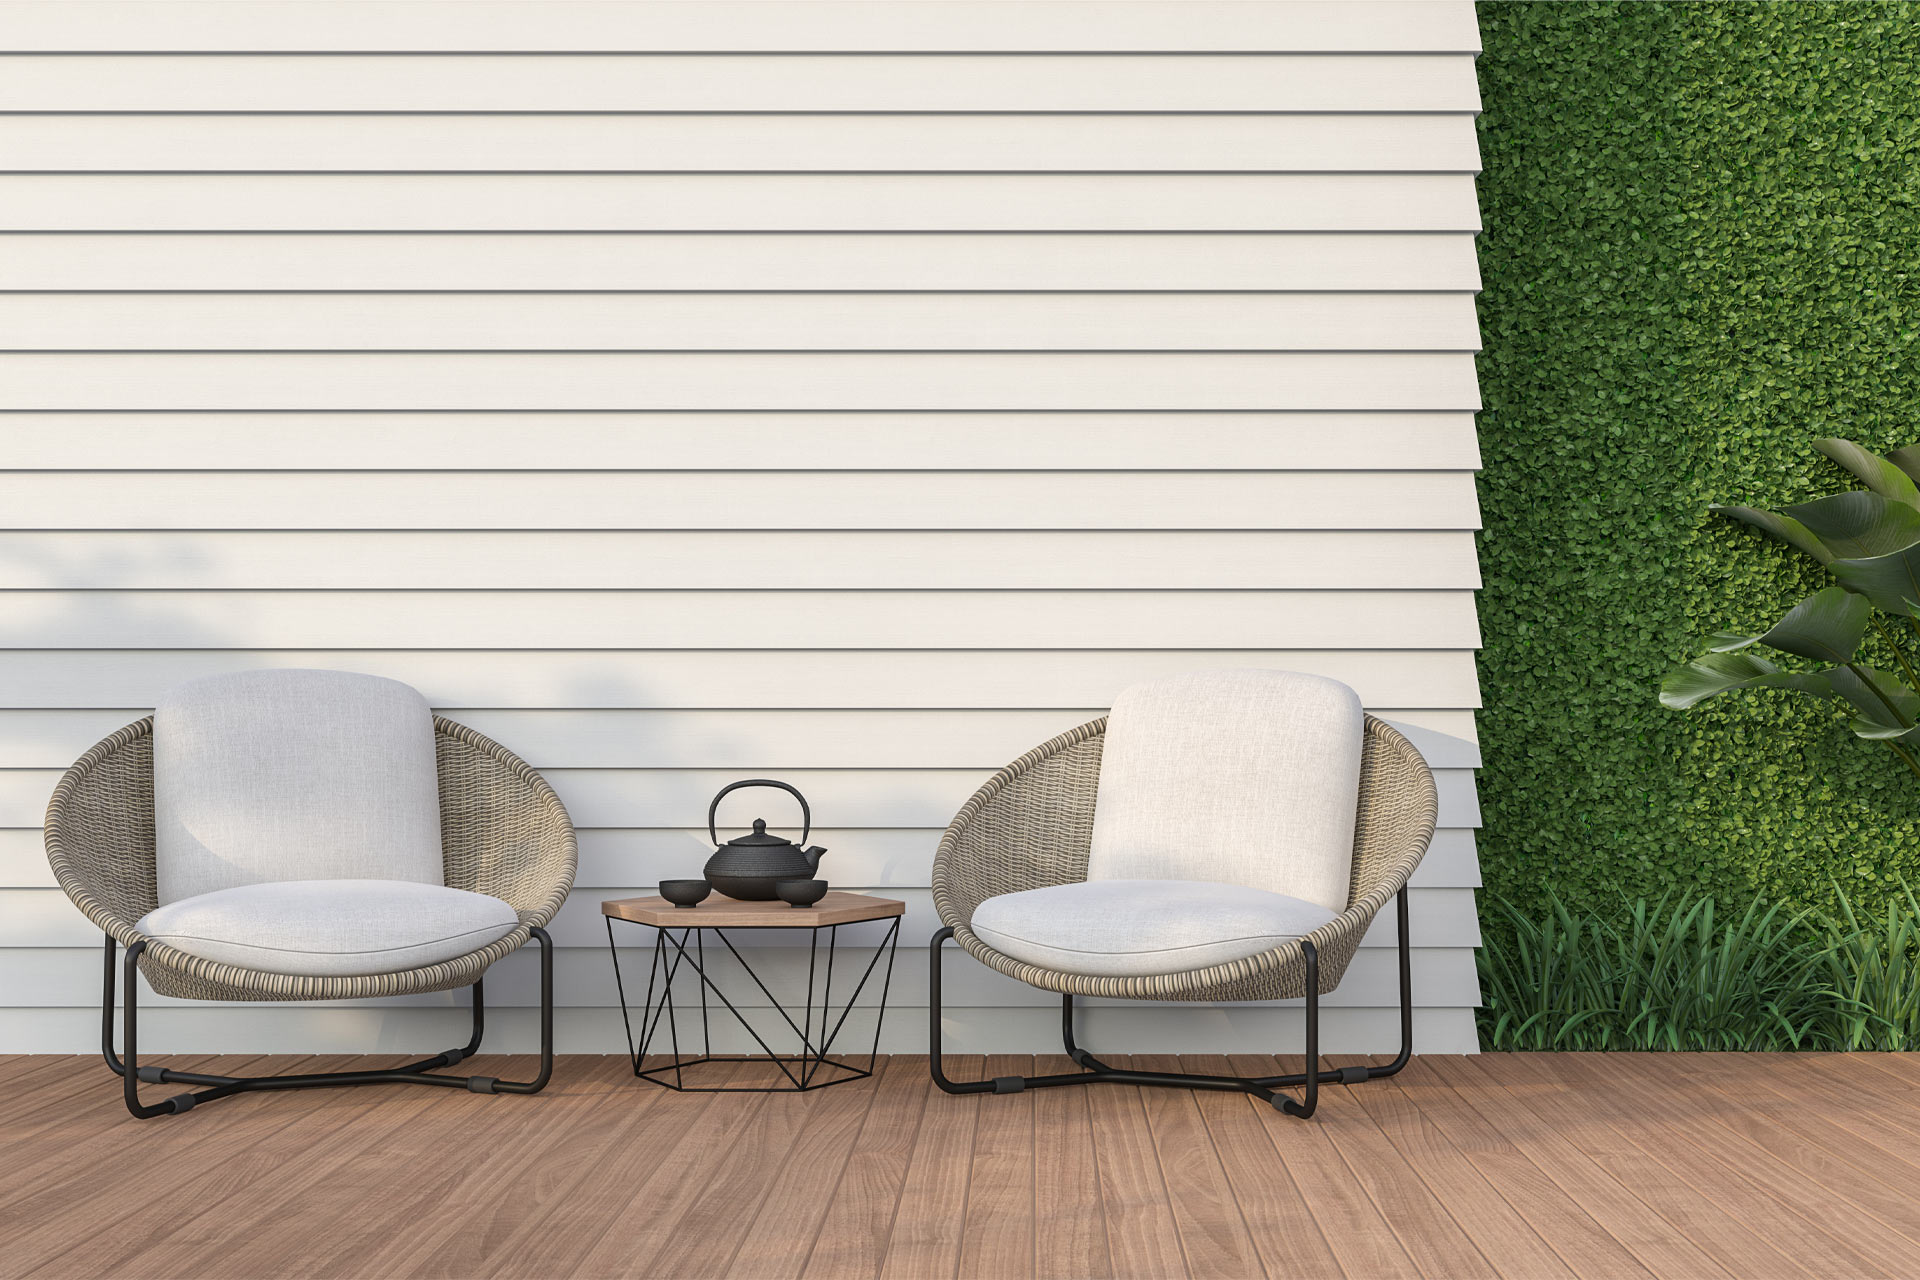
Diamond Hard Floor Varnish

How will this colour look? Buy from retailer Unavailable Select options

Description

Diamond Hard Floor Varnish brings out the natural finish in your wooden floors and provides long-lasting protection against every day knocks, scuffs and spills. It only takes 30 minutes to dry and can cover up to 18m2 per litre. Plus, it’s low odour so your home won’t smell of varnish for days on end.

Product features

  • Our toughest varnish with a beautiful finish
  • Non-yellowing so the colour stays brighter for longer
  • Ready for a second coat in two hours
  • Covers up to 18m2
  • Low odour so no lingering smells
  • Available in eight different colours to bring out the natural beauty of the wood
  • Suitable for unvarnished and previously varnished floors

Data sheets

Usage Interior on new or previously varnished wooden floors
Coverage Up to 18m2 per litre
Dry time Touch dry in 30 minutes
Coat time Two hours
Number of coats Three
Colours White Ash, Antique Pine, Dark Oak, Light Oak, Medium Oak, Walnut, Rich Mahogany, Clear
Finish

Available in satin and clear gloss

Durability Diamond hard protection against daily scuffs and knocks
Application Brush
Varnish base Water
Sizes 2.5L, 5L
VOC Low
Diamond Hard Floor Varnish
Find a stockist

How do the colours look?

Make colour your selection

Preparation

Remove any dust or dirt and sand back

Number of coats

Three coats

Coverage

Up to 18m2 per litre

Application

Brush on

Use on...

Before you start

Make sure the room is warmer than 10 degrees, remove your furniture and open the doors and windows. Wear a mask when sanding the floors to avoid inhaling dust.

How to prepare unvarnished floors

Prepping before varnishing will help the varnish stick evenly and give you better results.

  1. Sand along the length of your floorboards with 120 grit sandpaper. (Helpful hint: It’s quicker and easier to use a floor sander).
  2. Let the dust settle and run the vacuum around before wiping the floor down with white spirit.
  3. If you spot any holes or imperfections, use our Multi-purpose Wood Filler to fill them in.

How to prepare varnished floors

  1. Lightly sand your floor with 120 grit sandpaper. If your old varnish is flaking off, use a floor sander to sand back to the bare wood.

Let the dust settle, vacuum it up and then wipe down your floor with white spirit.

Application
  1. Give the varnish a really good stir and test the colour on a small patch to make sure you’re happy with it.
  2. Use a 4” brush and start in the corner furthest from the door. Work along the length of two floorboards at a time, just make sure you don’t get trapped in the corner!
  3. Wait two hours for the first coat to dry before applying another. For the best protection, you’ll need three coats.
  4. Before you start the third coat, very lightly sand along the length of your floorboards with 240 grit sandpaper. You won’t need a floor sander for this bit.
  5. Wipe the floor down with a damp cloth and then apply the third coat. Your floor will be ready to walk on in only two hours.

Wait 24 hours before bringing your furniture back in. After 72 hours your floor will be diamond hard.

Aftercare

Cleaning

After 72 hours, your floor will be hard enough to put up with daily wear and tear. It can be vacuumed and swept without causing any damage.

To avoid scratches and chips, clean up any dirt or grit and use a damp microfiber to clean surface stains and scuffs.

Your brushes can be easily cleaned with warm soapy water.

Repairs

If you do notice a scratch or spot of damage, just cover it with three coats and it’ll look good as new. Alternatively, you can use our Scratch Repair Kit to easily fill in the damage.